
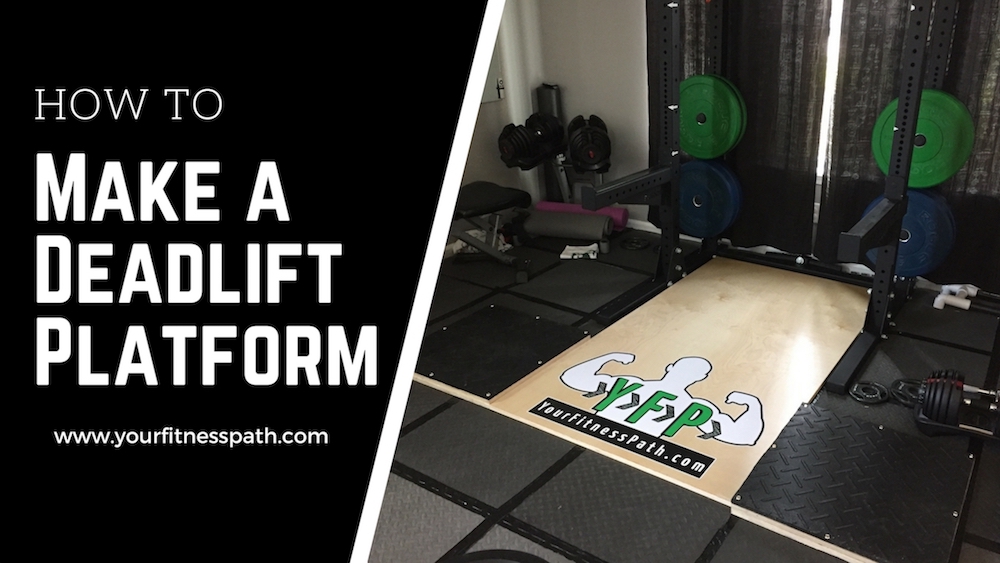
One of the cool things about having your own home gym is you get to make it your own and today I am going to show you how to make a deadlift platform for your home gym! A few months ago, I shared A Tour of My Home Gym and showed you basically everything that I have in my workout space. As I mention in the tour, it has taken a few years to get all of that in place through new purchases and upgrades along the way.
With that, I’ve done a few DIY projects to help reduce costs and in some cases, because there just wasn’t anything available at the time that would work in the space that I had available. In case you are curious, here are a couple of the projects that I have done that you might find useful.
Recently, I decided to upgrade my deadlift platform and I documented the process so that anyone who is considering doing something similar can see exactly how I created mine. Below you will find a complete list of materials as well as a video that I put together on how to make a deadlift platform of your own.
Before we get into the details on how to make a deadlift platform, let’s talk a little bit more about the deadlift exercise; why it is so awesome and how to actually perform it.
The Deadlift
Deadlifting is my favorite! It may be the most functional exercise there is. While it looks like ( and certainly is… ) a incredibly simple exercise, there are a lot of ways to mess it up due to the fact that there are several muscle groups working at once to perform it.
There are a few ways that you can perform the deadlift, the most common are: conventional and sumo. I have always been a conventional deadlifter, but many people also prefer sumo. Be sure to check out the video below on How to Deadlift from Layne Norton, it’s a great tutorial for getting started.
How to Deadlift
Don’t be that guy who butchers the deadlift while everyone else in the gym watches in horror. Pull more weight using better form with record-setting powerlifter and natural bodybuilder Layne Norton!
Now Practice!
Deadlifting is a skill. That means it takes practice. The more you do it, the better you’ll get at it. That may sound daunting, but it doesn’t have to be.
I recommend starting light, focusing on bar path and the cues we discussed, and getting comfortable with the movement before you really start getting heavy.

Remember: The deadlift is a high-reward movement, but it’s also high risk if it’s not done properly. I realize that’s a lot of information to process at one time, so I recommend watching this video several times to pick up more tips. Then go set up, get tight, and move some weight!
See Layne’s complete guide here: http://bbcom.me/1p3c9EU
Make a Deadlift Platform – List of Materials
The materials needed to create a solid deadlift platform isn’t all that extensive and actually the cost isn’t as much as you might expect. I was able to build the deadlift platform that you see in the video below for roughly $100. The most expensive item for me was the birch laminated piece of plywood. You could opt from something that is a little lower in cost and not sacrifice usability. I also include the vinyl decal, which added to my overall cost of the build, but you can certainly exclude that from your setup.
- 1 – 4′ x 8′ x 3/4″ Plywood – $49.95
- 4 – 2′ x 2′ x 3/4″ ACX Panels – $5.19 each
- 1 – 4′ x 3′ Horse Stall Mat – $24.95
- 16 – #10 Finish Washers – $1.78
- 16 – 1 1/2″ Construction Screws – $3.50
- 1 – Bottle Gorilla Glue – $5.00
Total:$ 105.94
If you are interested, I got the vinyl logo decal from the friendly folks at Graphix Gurus. They do some awesome work and I was super-impressed with the quality and speed with their work. Definitely check them out if you need something similar created! Here is a link to their website: http://graphixgurus.com
Make a Deadlift Platform – Step by Step Instructions
I put together a video on exactly how I created my own deadlift platform. I also provided a few tips that I learned during the process to hopefully allow you to prevent the same mistakes that I made.
Deadlift Accessories
While none of these accessories are “required” to get started with the deadlift, you may find that as you progress in gaining strength and improving form and technique, they may allow you to progress further.
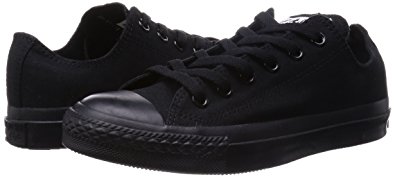
Shoes
Flat shoes are ideal. I am a big fan of the Reebok Crossfit TR Lo, sadly they aren’t available anymore… Chuck Taylor’s also work great. Many powerlifters simple wear socks.
Straps
If your hand grip isn’t the greatest or you find that your grip fails long before you have exhausted the muscle group being worked, then a set of wrist straps like VersaGripps might be a good addition to your gym equipment. Check out the Versa Gripps Review I created a while ago for more details.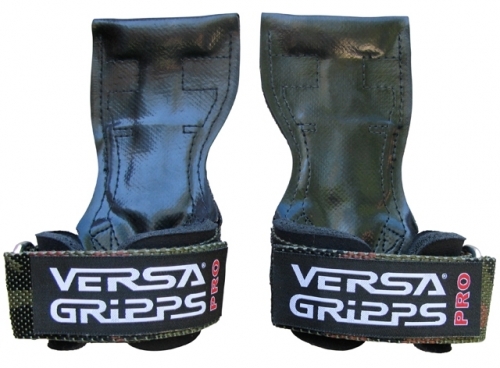
Chalk
Depending on your barbell knurling, your grip strength and your decision to use straps, chalk may or may not be something you need initially. Once you start moving up in weight, you find it useful to get some chalk on your hand to improve your grip on the barbell.
I’ve never really used chalk myself, since I have the straps mentioned above. Liquid chalk is also an option to minimize that mess that typically accompanies chalk.
Belt
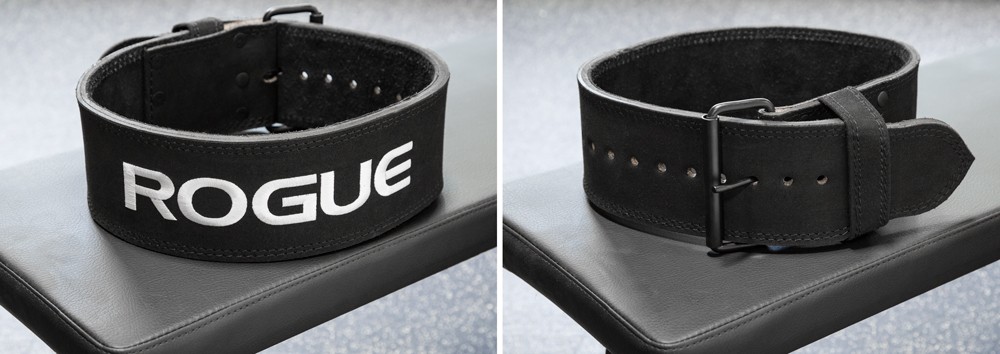
A weightlifting belt is a great investment and while I say everything listed here is optional, I think that a good weightlifting belt is something you should seriously consider. It will reduce stress on the back from rounding on exercises like the squat and deadlift; it also reduces over extension on exercises like the overhead press.
Here is a photo of the belt that I have – you don’t have to get this exact belt, but definitely look for a nice thick leather belt that is roughly 10mm or 4″ wide – you don’t really need anything wider than that.
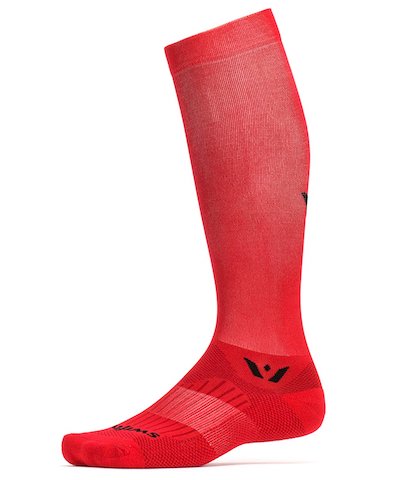
Socks
As your form and technique of the deadlift improves, the bar will begin to scrape along your shins as you lift. This is normal, but depending on the position of the knurling of the barbell, it can be a painful experience. This is where a high-quality pair of socks can be valuable. I like these compression socks from SwiftWick. I’ve worn them for lifting as well as obstacle races in past and they are awesome!
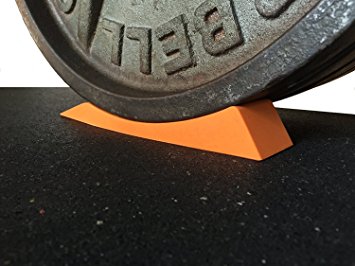
The Dead Wedge
Sometimes it feels like just as much work to get the plates on and off the barbell as it is doing the actual deadlift exercise. For this reason, having something a handy as a deadlift wedge can save you some strength and strain on your back when loading or unloading your barbell.
The Dead Wedge is specifically designed to keep plates from rolling while loading/unloading; hands off. It does not require you to balance the bar while fetching another plate. The increase in safety reduces accidents, so you can change weights even while the barbell is high up on blocks.
Share Your Setup!
Do you have a sweet home gym setup that you would like to share? Send me your photos via email or comment below, I’d love to see it!
Need a Coach?
If you need to find someone that will hold you accountable, answer your questions, help you, and PUSH YOU for the entire duration of your workout! Luckily for you, that’s what me and my team are here for. If you don’t have a coach yet and want one, I’d love to be your coach and help you through a fitness program. I am available to help you reach your goals!
Email Me: coachchris@yourfitnesspath.com
Connect on Facebook: fb.com/coachcoburn
YouTube: https://youtu.be/coachchriscoburn
Instagram: @chris_coburn
Twitter: @yourfitnesspath

0 Comments